


Opinion
3 How to build a real-time dashboard using AWS Amplify, AppSync and Lambda [Part 3]
Published on 19 Nov, 2020 by Gishan
You're now completed Part 1 and Part 2 of th is how-to guide. Part 3 involves building an aircraft engine condition monitoring data simulator using AWS Lambda and NASA’s Turbofan Engine Dataset.
Part 3 - building an aircraft engine condition monitoring data simulator using AWS Lambda and NASA’s Turbofan Engine Dataset [1] (https://ti.arc.nasa.gov/tech/dash/groups/pcoe/prognostic-data-repository/#turbofan)
Step 1: Upload condition monitoring data to S3
I have already preprocessed the datasets for you. Simply, download them from here.
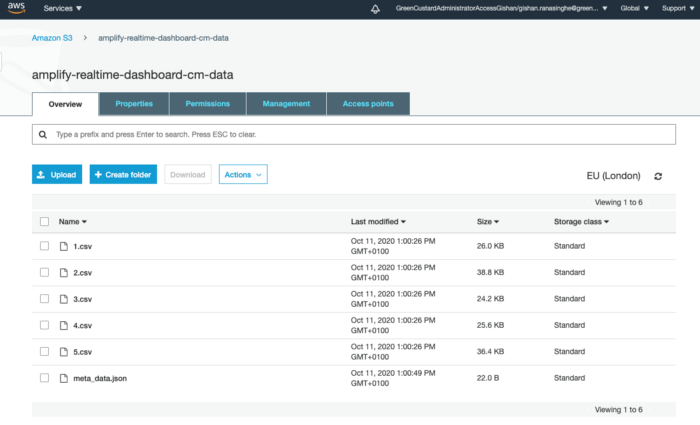
There are 5 CSV files and a meta_data.json file. The CSV files include condition monitoring data for 5 engines. Each CSV contains a Unit_Number column and the remaining columns correspond to 5 sensors (hereinafter we refer to these as feature columns). The JSON file keeps track of the data index when running the simulation.
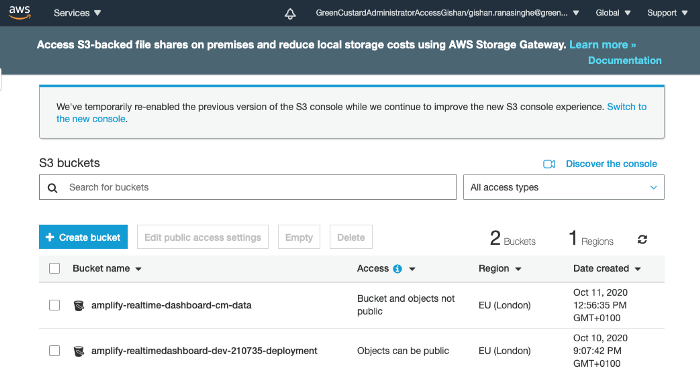
We need to upload the datasets and the JSON file into AWS S3. Open the S3 service in your AWS console. Press the Create Bucket button and enter amplify-realtime-dashboard-cm-data for the bucket name. Choose the same region you’ve selected when creating the AppSync API in Part 1. Finally, press the Create button. You will see a new bucket appearing in the S3 buckets list.

Click on the newly created bucket to go inside it. Then press on the Upload button. Upload the 5 CSV files and the meta_data.json file into the bucket. You will see the bucket is now populated with the CSV files and the JSON file.

Step 2: Deploy the simulator lambda function
Create a lambda function
Ok, we got our data in S3. Now we want to start streaming this data into the AppSync API. To do this, we are going to invoke a lambda function that reads each row in CSV files every 1-minute and pushes the data in that row to the AppSync API.
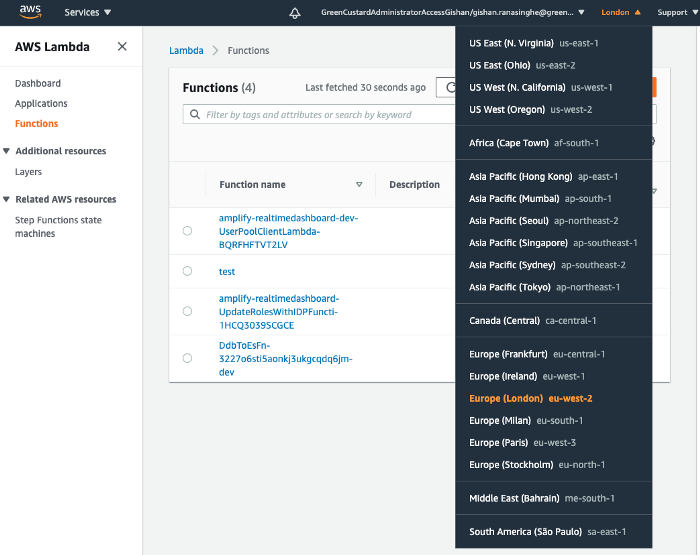
Open the lambda service in your AWS console. Select the same region you’ve selected when creating the AppSync API in Part 1.

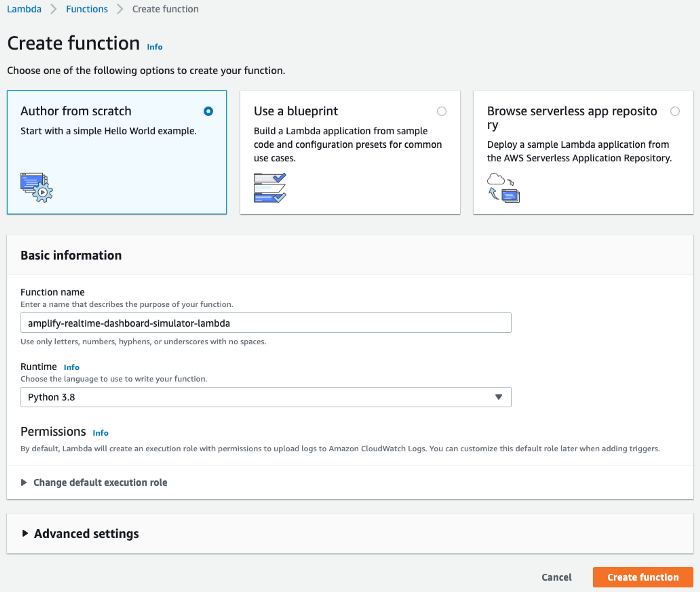
Then click on the Create Function button and fill in the details as follows: enter amplify-realtime-dashboard-simulator-lambda for the function name. Select Python 3.8 as the runtime. Why Python? … Why not? Finally, press the Create Function button.

Create a Python script for the simulation
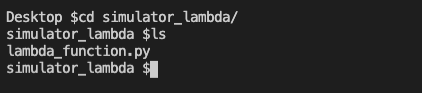
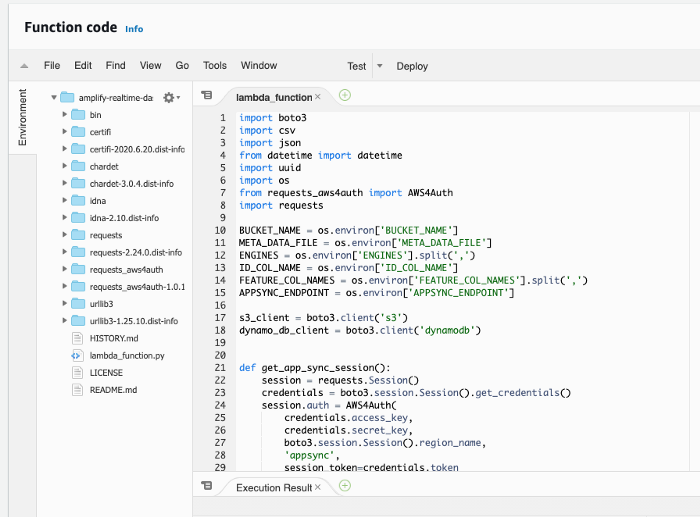
You can download the Python script from here. The download consists of a folder called simulator_lambda and a Python script called lambda_function.py is inside it. Open the script in your text editor.
Let’s breakdown everything inside the Python script.
The script first reads the data index from the meta_data.json file stored in S3.
meta_data_obj = s3_client.get_object(Bucket=BUCKET_NAME, Key=META_DATA_FILE)
meta_data_content = meta_data_obj['Body'].read().decode('utf-8-sig')
json_content = json.loads(meta_data_content)
data_index = json_content['last_data_index']
Then it finds the row matching to the data index for all the engine CSV files.
for engine in ENGINES:
  csv_filename = engine.lower() + '.csv'
  csv_file = s3_client.get_object(
                 Bucket=BUCKET_NAME, Key=csv_filename
             )
records_list = csv_file['Body'].read()
                 .decode('utf-8-sig').splitlines()
  csv_reader = csv.DictReader(records_list, delimiter=',')
row_count_w_header = sum(
       1 for row in csv.reader(records_list, delimiter=',')
  )
if data_index < row_count_w_header:
      row = {}
      for i in range(0, data_index):
         if(i == data_index):
            continue
         else:
            row = next(csv_reader)
Then for each engine, it runs the creareConditionMonitoringDataRecord mutation to push data to the AppSync API.
Note: The creareConditionMonitoringDataRecord mutation is copied from the mutations.ts file created by Amplify inside your React project. You can find in at src/graphql/ folder.
unit_number = row[ID_COL_NAME]
date_time_now = datetime.now()
formatted_date_time = date_time_now.strftime("%Y-%m-%dT%H:%M:%SZ")
app_sync_session = get_app_sync_session()
cm_data = {}
for feature in FEATURE_COL_NAMES:
  value = 0
  if row[feature]:
  value = row[feature]
  cm_data[feature] = value
input_data = {
  'id': uuid.uuid4().hex,
  'uniNumber': unit_number,
  'dateTime': formatted_date_time,
  'data': json.dumps(cm_data)
}
mutation_query = """mutation CreateConditionMonitoringDataRecord($input: CreateConditionMonitoringDataRecordInput!) { createConditionMonitoringDataRecord(input: $input) {
__typename
id
unitNumber
dateTime
data
createdAt
updatedAt
}
}
"""
variables = {'input': input_data}
app_sync_response = app_sync_session.request(
  url=APPSYNC_ENDPOINT,
  method='POST',
  json={'query': mutation_query, 'variables': variables}
Finally, the data index in the meta_data.json is updated with the new value which will be used in the next iteration of the simulation.
new_meta_data = {'last_data_index': data_index+1}
s3_client.put_object(
  Body=(bytes(json.dumps(new_meta_data).encode('UTF-8'))),
  Bucket=BUCKET_NAME,
  Key=META_DATA_FILE
)
Deploy the lambda function
So far we’ve created a lambda function called amplify_realtimedashboard_data_simulator in the AWS console. And then downloaded the simulator_lambda folder and stored it in the desktop.
We now need to deploy the lambda_function.py to the lambda function in the AWS console. There are various ways to deploy a lambda function. We are going to store the source code as a zip file in S3 and then link it to the lambda function.
Open a new terminal and go to your desktop. Then go inside the simulator_lambda folder.

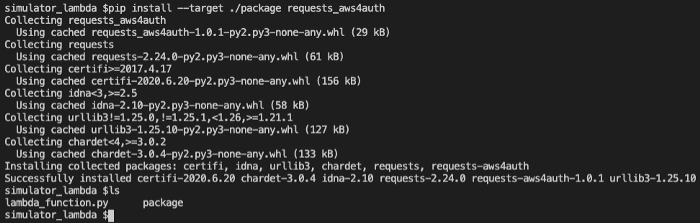
Then compile the lamda_function.py into a package with dependencies by running the below command.
pip install --target ./package requests_aws4auth
Run the ls command and you will see a new folder called package.

Now add the lambda_function.py to the function.zip.
zip -g function.zip lambda_function.py
Your terminal should show that the zip file is deflated as shown in the below figure.


Now open the S3 service in your AWS console and create a new bucket called amplify-realtime-dashboard-lambdas. Again choose the same region you’ve selected when creating the AppSync API in Part 1. Upload the function.zip file to the new bucket.

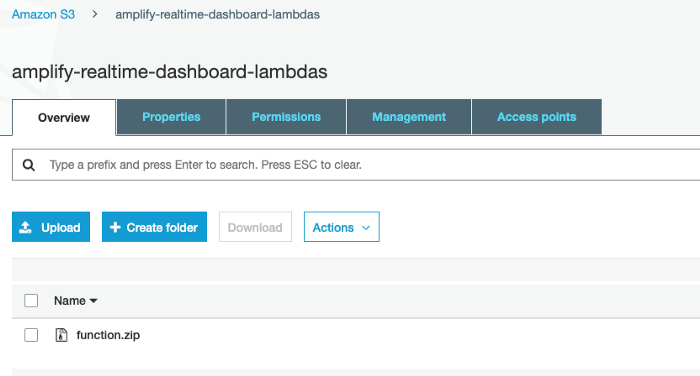
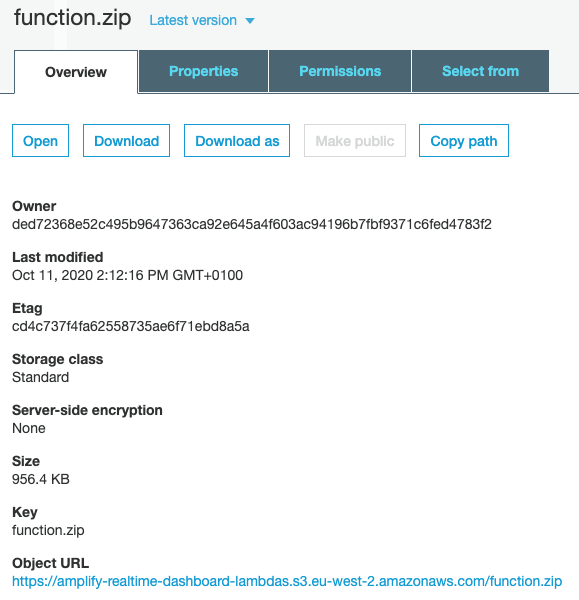
Now click on the function.zip file inside the S3 bucket and copy the Object URL. We need this URL to link the lambda function to the source code next.

Now go back to the lambda service in AWS console and click on the lambda function we’ve created. Then go to the Function code section under the Configuration tab. Click on the Actions dropdown and select Upload a File From S3.

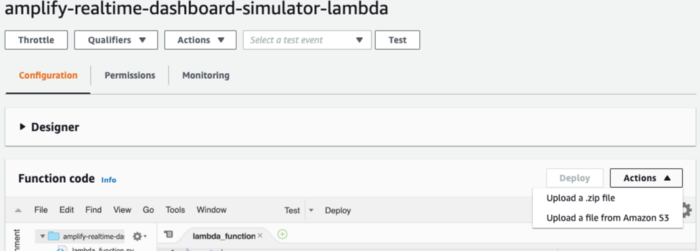
AWS will ask you to enter the S3 URL. Paste the URL you’ve copied previously and save. You will see the source code of the lambda_function.py appearing in the Function code section.

Finally, click on the Deploy button to deploy the lambda function.
Set environmental variables
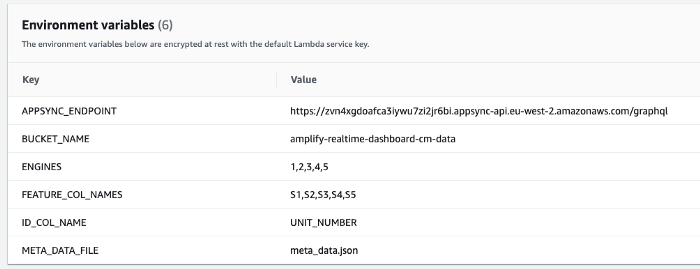
If you haven’t noticed already, at the top of our Python script we are reading the following environmental variables:
- BUCKET_NAME - This is the name of the S3 bucket where the condition monitoring data are stored at: amplify-realtime-dashboard-cm-data
- META_DATA_FILE - This is the name of the meta data file in which the data index is stored at: meta_data.json
- ENGINES - This is a list of engines under the study: 1,2,3,4,5
- ID_COL_NAME - This is the name of the engine ID column in the condition monitoring data CSV files: UNIT_NUMBER
- FEATURE_COL_NAMES - This is a list feature column names under the study: S1,S2,S3,S4,S5
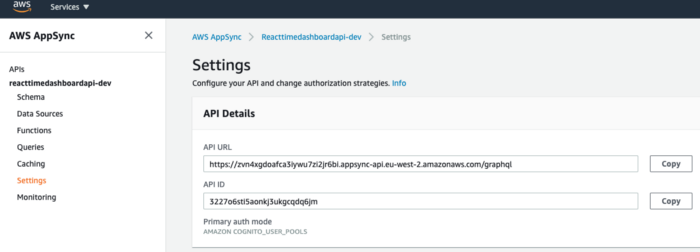
- APPSYNC_ENDPOINT - This is the GraphQL endpoint of our AppSync API. This is available to copy from the AppSync service in your AWS Console. Go to the AppSync service and select our API. Then go to the Settings section. Make copies of the API URL and API ID.

Now go back to the lambda function in the AWS Console. Go to the Environmental variables section under the Configuration tab and create all the environmental variables.

Step 3: Configure permissions
We are just one step away from testing our engine data simulation!
So far, we’ve created a lambda function, deployed it with the simulation code and created the necessary environmental variables. We now need to give the lambda function sufficient permissions via the AWS IAM service to allow it to read data from S3 and push data to the AppSync API.
Go to the Permissions tab in your lambda function and you will see the IAM Role name in the Execution role section.

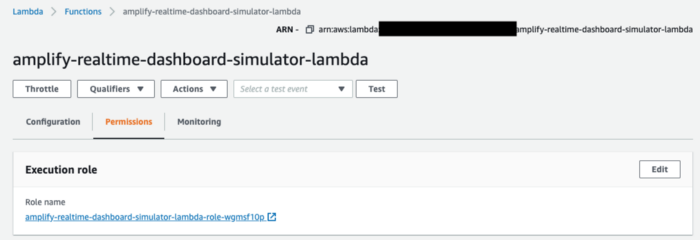
Click on the role name and you will be taken to the IAM service. Now create the following policy and attach it to the lambda role. Make sure to replace the region, AWSAccountNumber and the AppSyncAPIId.
{
    "Version": "2012-10-17",
    "Statement": [
        {
            "Sid": "VisualEditor0",
            "Effect": "Allow",
            "Action": [
                "s3:PutObject",
                "s3:GetObject",
                "appsync:GraphQL"
            ],
            "Resource": [
"arn:aws:appsync:region:AWSAccountNumber:apis/AppSyncAPIId/types/*/fields/*",
"arn:aws:appsync:region:AWSAccountNumber:apis/AppSyncAPIId",
"arn:aws:s3:::amplify-realtime-dashboard-cm-data/*"
            ]
        }
    ]
}
Step 4: Start the simulation
To start and schedule the simulation, we use Amazon EventBridge which allows invoking a lambda function in fixed time intervals.
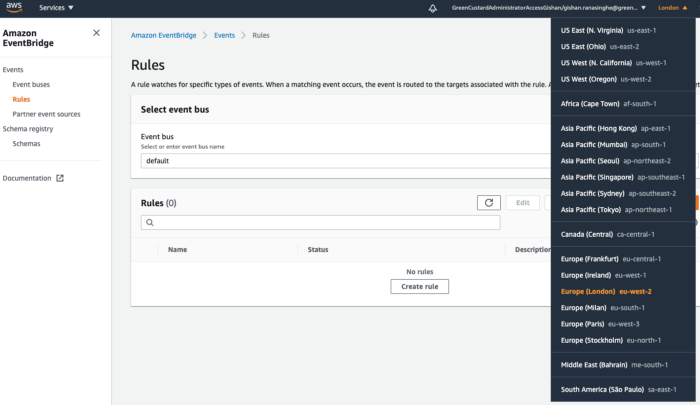
Go to the Amazon EventBridge service in your AWS Console. Then go to the Rules section and select the region. Again, the region should be as same as the one you’ve selected when creating the AppSync API in Part 1.

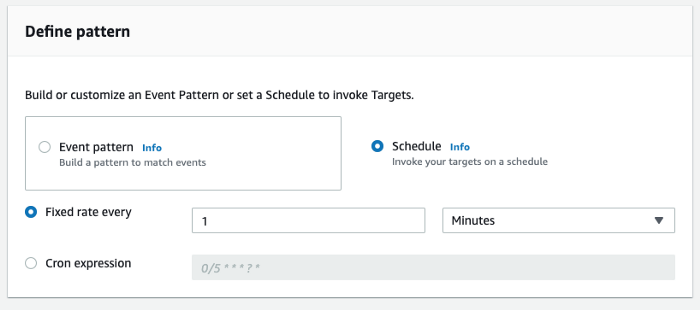
Then click on the Create Rule button. For the rule name, enter amplify-realtime-dashboard-simulation-rule. In the Define pattern section select Schedule and select 1 Minute for the fixed rate.

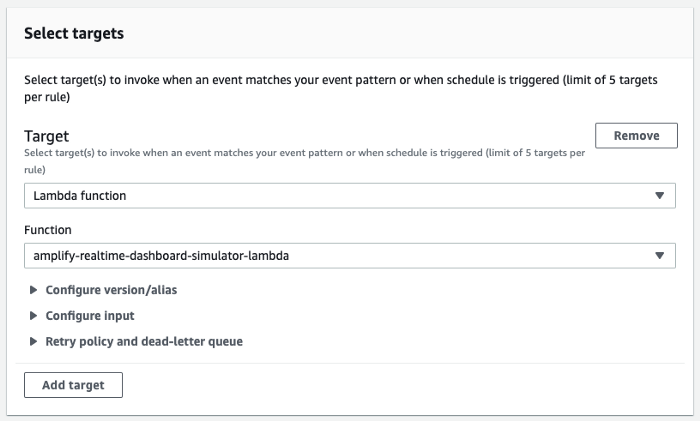
Leave Select event bus section as it is. Then to the Select targets section. Select Lambda function as the target and select amplify-dashboard-simulation as the Function.

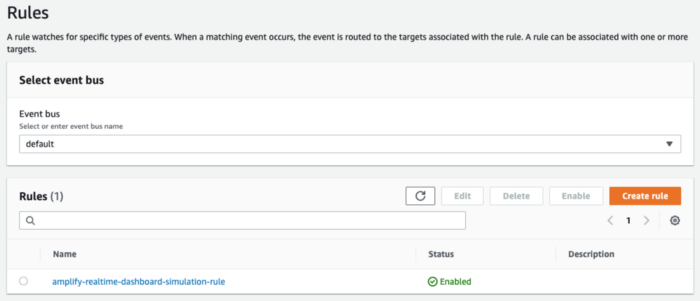
Finally, press the Create button. You should now have a new EventBridge rule created as shown in the below figure.

We are expecting our simulator lambda function to be invoked every 1 minute, and it to read data from engine CSV files in S3 and push the data to the AppSync API. Since we used DynamoDB as our AppSync data source, we are also expecting the data to be stored in the condition monitoring data table in DynamoDB.
Ok, this is the moment of truth! Let’s go to the DynamoDB service in the AWS Console and check whether above is the case.
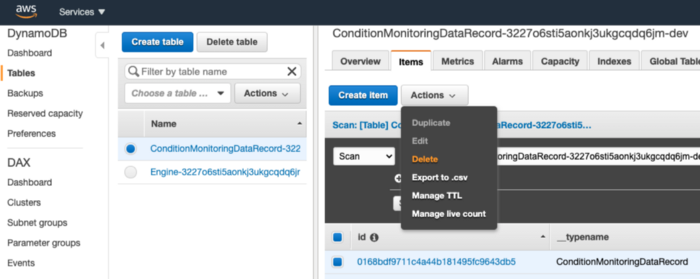
Go to the DynamoDB and select the ConditionMonitoringDataRecord-xxxx table. Then select the Items tab.
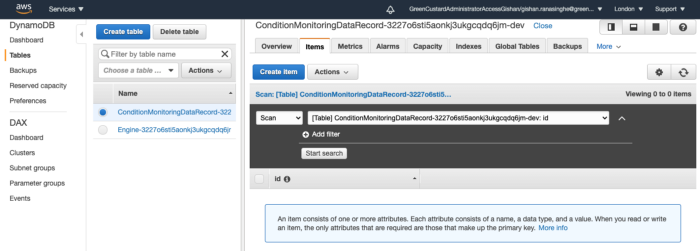
Now wait for a 1 minute and refresh the table.

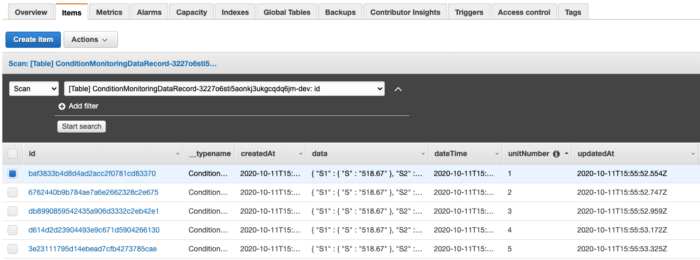
Voilà! You will see the first set of data records has now arrived at the DynamoDB table. There are 5 records — 1 per each engine.
If you wait another minute and refresh the table, you will see another 5 records.
Important: The next step is crucial, so don’t go anywhere.
Step 5: Stop and reset the simulation
Now that we know our simulation works, we are going to stop it until the React frontend is ready to receive data.
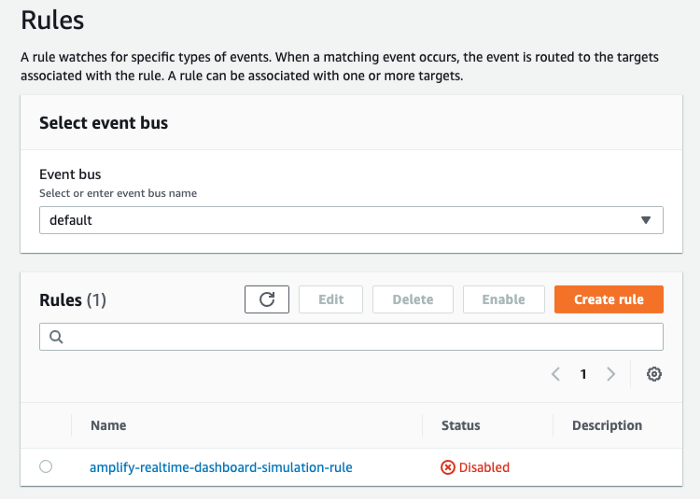
First, go to the AWS EventBridge and disable the rule. Simply, select the rule and press the Disable button on the top-right. We have stopped the simulation.

Then go to the S3 service and download the meta_data.json file inside the amplify-realtime-dashboard-cm-data bucket. Open the downloaded JSON file in your text editor and change the last_data_index to 1.


Save the file (still as a .json file) and re-upload it to the amplify-realtime-dashboard-cm-data bucket. We have reset the simulation.
Finally, go to the Condition Monitoring Data table in DynamoDB service and delete all the items in it. We have cleared all the data stored from the last simulation.

In this part, we used AWS lambda to develop a real-time aircraft condition monitoring data simulator. The lambda function reads data from S3 and pushes to the AppSync API.
Now we need to develop the React frontend as this is where we will have a real-time time series plot visualising the condition monitoring data.
So let’s go and have a BIG Voilà moment in the final part of this blog - Connecting a React Frontend to the AWS AppSync API and Visualising Real-time Data on a Time Series Plot.